
Gluten-Free Bread Machine Recipe: Easy Vegan Loaf
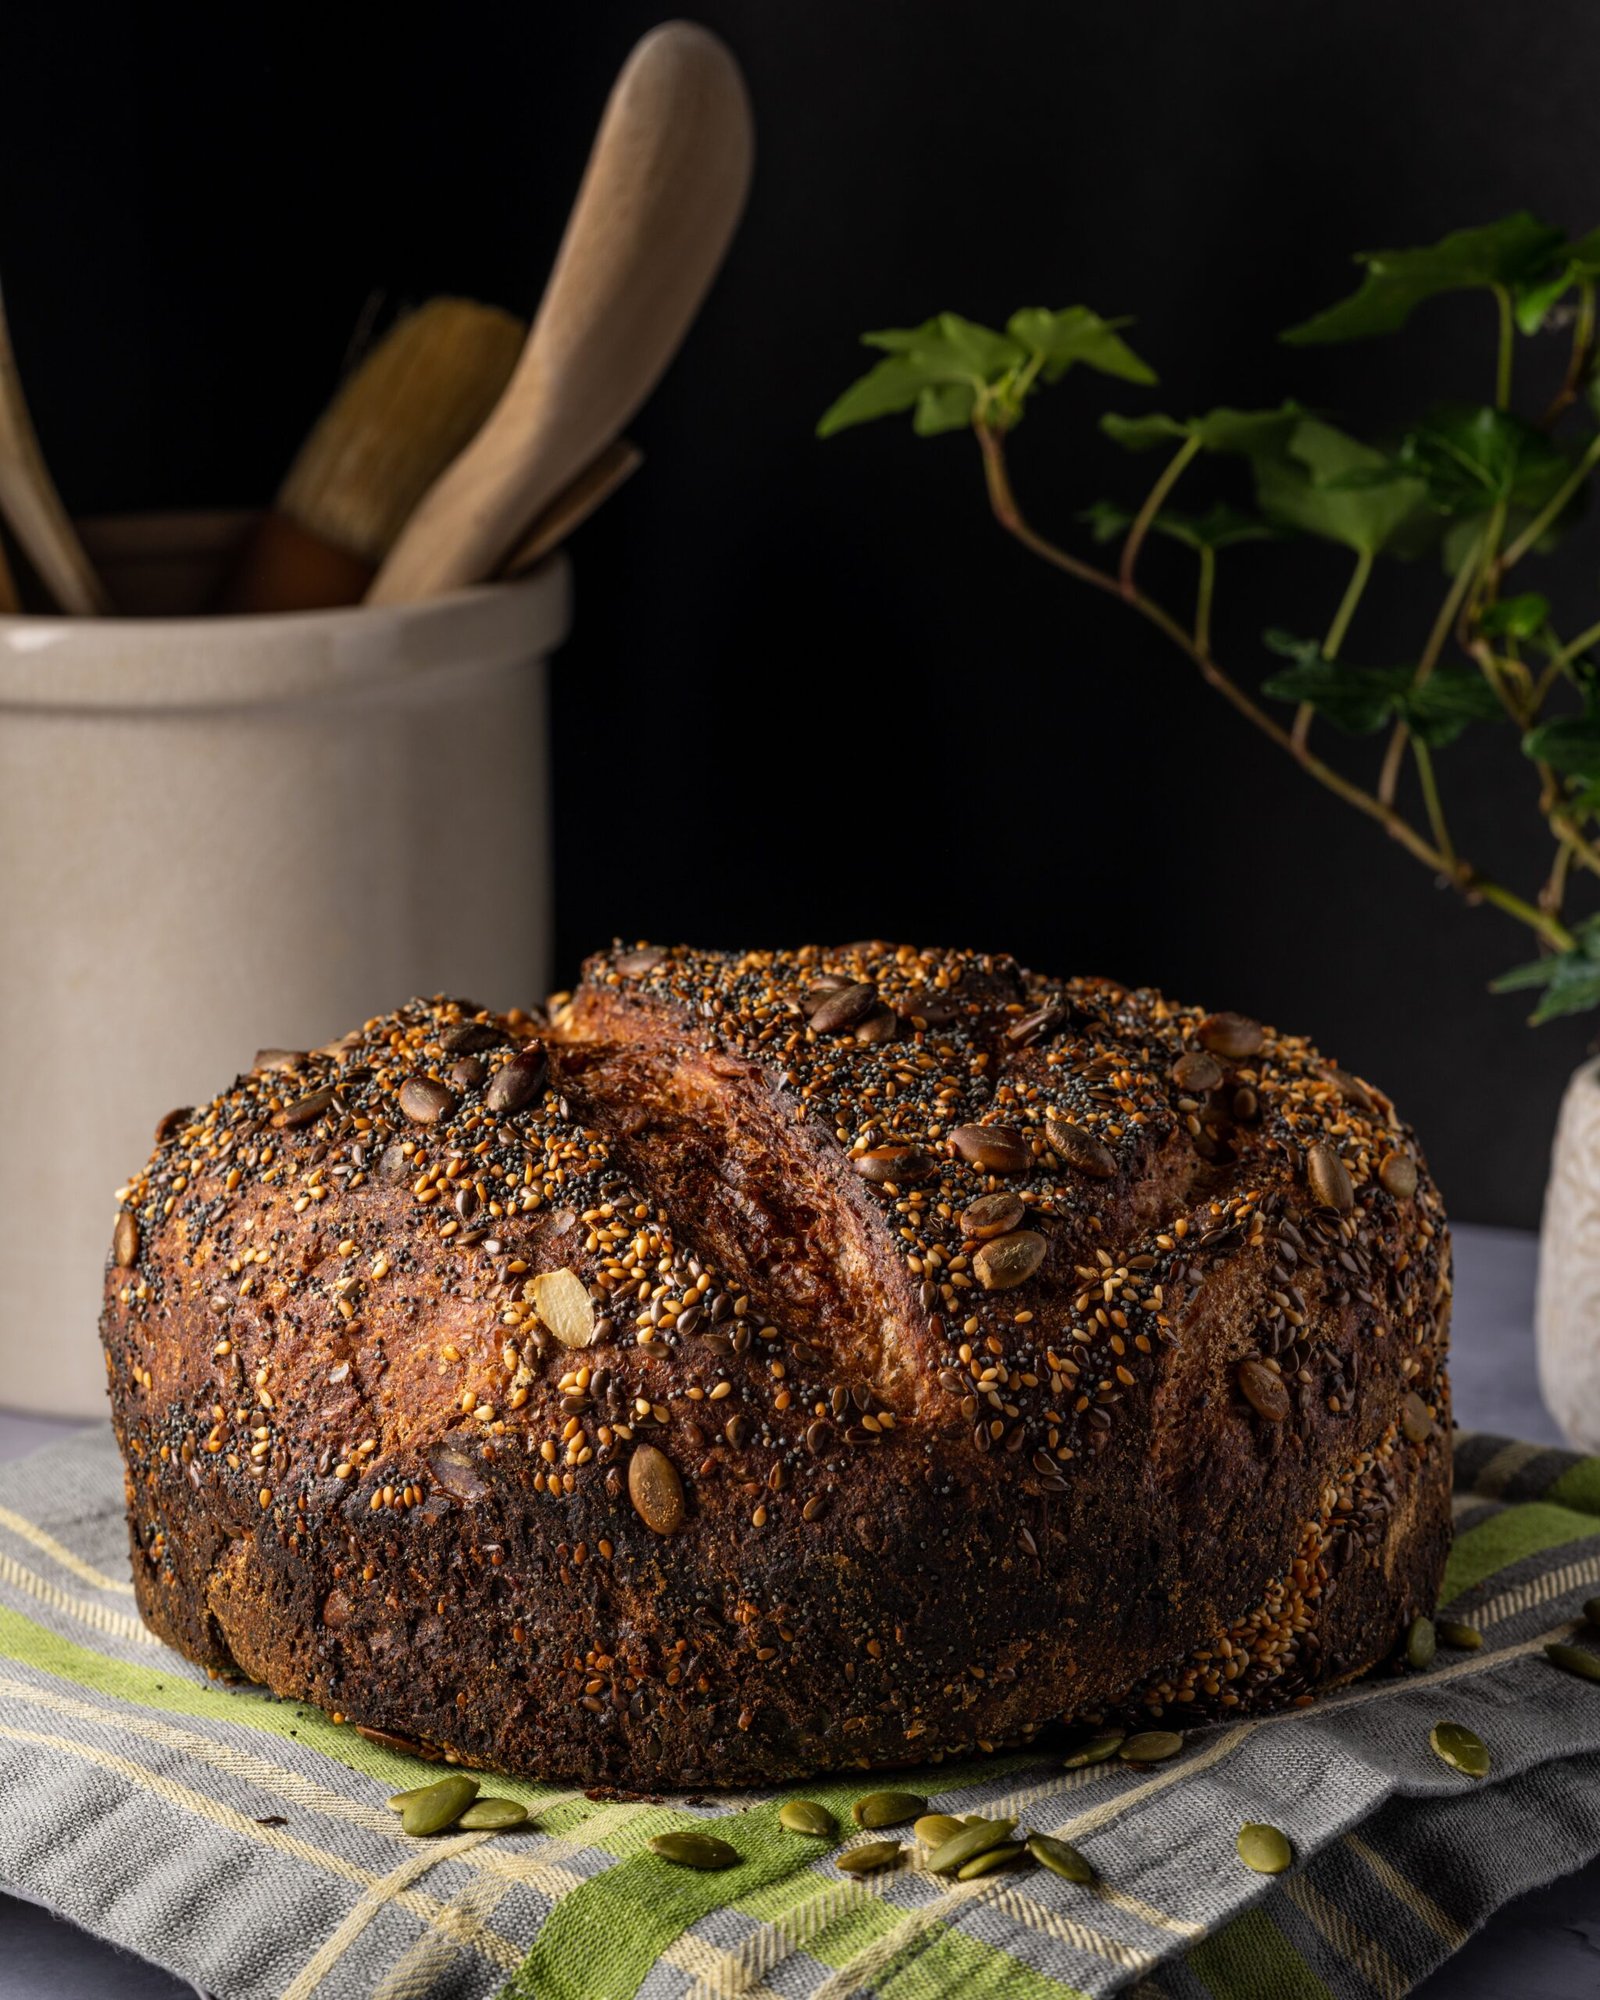
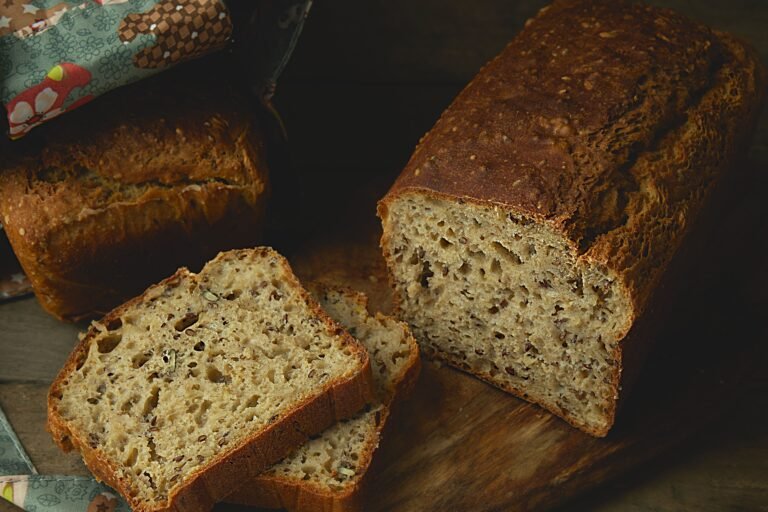
Making gluten-free bread at home gets a lot easier when the bread machine handles the mixing, rising, and baking for you. This gluten-free bread machine recipe makes a simple, soft loaf with a tender crumb and a lightly golden crust, without dairy or eggs.
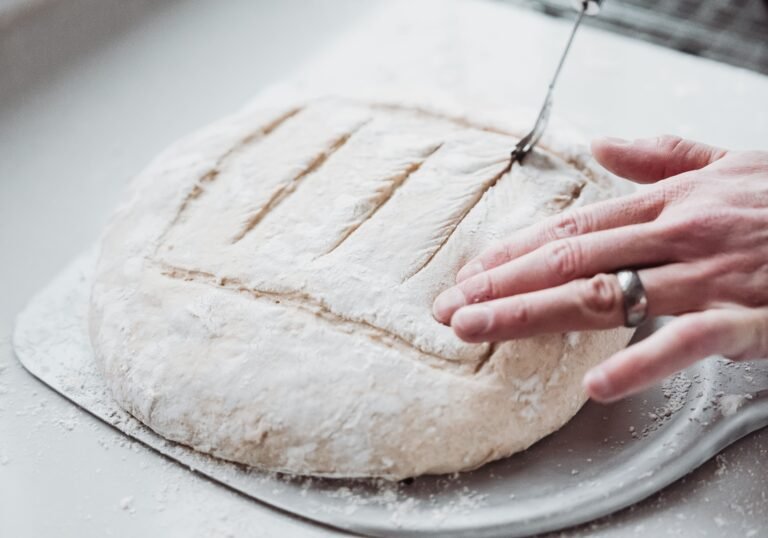
The biggest difference from regular bread-machine bread is the dough itself. Gluten-free dough is usually much softer and stickier than wheat dough, so don’t expect a smooth ball spinning around the bread pan. That softer texture is normal.
This recipe is designed for a bread machine with a gluten-free setting, but I’ll also explain what to do if your machine doesn’t have one. You’ll also find tips for choosing flour, checking the dough consistency, preventing a gummy loaf, and getting cleaner slices once the bread has cooled.
Why This Bread Machine Recipe Works
A good gluten-free bread maker recipe needs enough moisture to keep the loaf from drying out while still having enough structure to rise and hold its shape.
This version uses a gluten-free flour blend, psyllium husk, yeast, plant-based milk, oil, and a small amount of sugar. Each ingredient has a specific job.
You’ll like this recipe because it is:
- Completely gluten-free
- Vegan and dairy-free
- Mixed and baked in the bread machine
- Made with everyday ingredients
- Easy to customize
- Suitable for toast and sandwiches
- Beginner-friendly
You also do not need to knead the dough by hand. In fact, traditional kneading is not useful here because there is no gluten network to develop.
Ingredients for Gluten-Free Bread in a Bread Machine
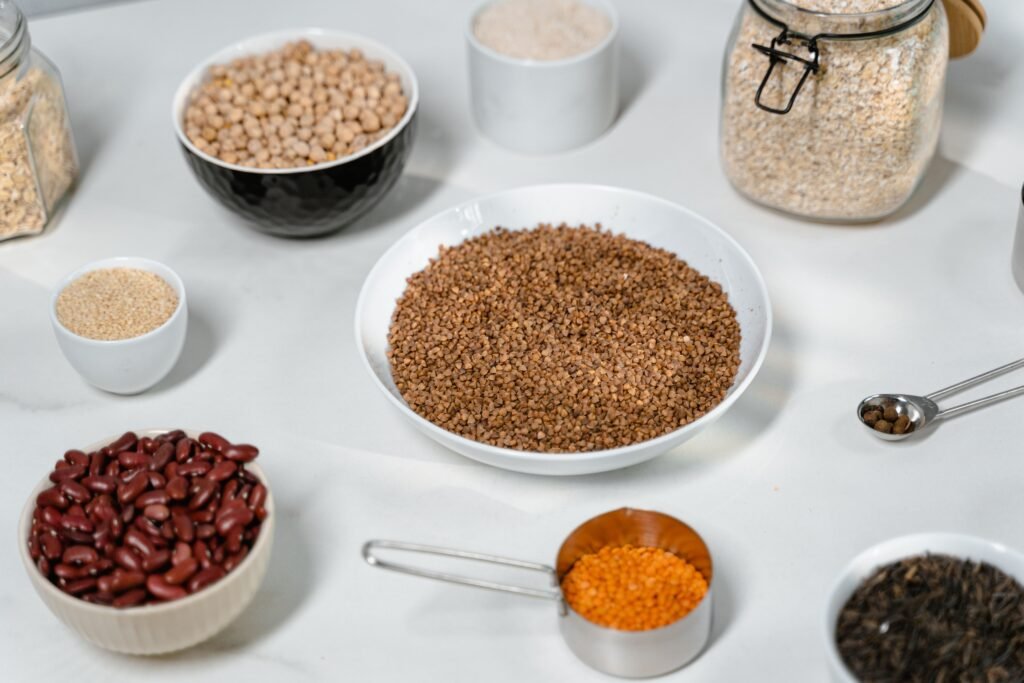
Here’s what matters most: gluten-free bread depends heavily on the balance between flour, liquid, binder, and yeast. Try not to make major substitutions the first time you prepare the loaf.
Gluten-Free Flour Blend
Use a good-quality gluten-free all-purpose flour blend intended for baking.
Different blends can contain combinations of rice flour, sorghum flour, tapioca starch, potato starch, cornstarch, or other gluten-free flours and starches.
Because every blend absorbs liquid differently, you may need to adjust the plant milk slightly after you start mixing the dough.
If your flour blend already contains xanthan gum, you generally don’t need to add much more.
Psyllium Husk
Psyllium helps gluten-free bread hold moisture and gives the crumb more structure.
Without gluten, bread needs another ingredient to help hold everything together. Psyllium also helps make the finished loaf less crumbly and easier to slice.
Use psyllium husk powder for this recipe rather than assuming whole husks and powder can always be measured interchangeably.
Plant-Based Milk
Unsweetened soy milk works particularly well here, but you can also use another unsweetened plant milk.
Options include:
- Soy milk
- Almond milk
- Cashew milk
- Pea milk
- Certified gluten-free oat milk
If strict gluten avoidance is important, always check packaged ingredients, especially oat-based products.
Olive Oil
A little oil helps keep the crumb tender and prevents the loaf from feeling overly dry.
A neutral oil such as avocado or sunflower oil also works if you don’t want the flavor of olive oil.
Apple Cider Vinegar
A small amount of vinegar adds acidity to the dough and works well with the other bread ingredients.
It will not make the finished loaf taste strongly of vinegar.
Sugar
A modest amount of sugar adds a little flavor and supports the yeast.
Regular granulated sugar works well. Maple syrup may behave differently because it adds additional liquid, so I prefer sugar for a straightforward bread-machine recipe.
Yeast
Use active dry yeast or bread-machine yeast, following your machine and the recipe instructions.
Most importantly, make sure your yeast is not expired.
Very hot liquid can damage yeast, while an extremely cold mixture can slow down rising.
Salt
Salt is essential for flavor and helps balance the loaf.
Keep it separate from the yeast when loading the bread machine, if your machine manufacturer recommends it.
Gluten Free Bread Machine Recipe
Ingredients
For one medium loaf:
- 1 1/4 cups unsweetened plant-based milk, lukewarm
- 2 tablespoons olive oil or neutral oil
- 1 tablespoon apple cider vinegar
- 2 tablespoons granulated sugar
- 3 cups gluten-free all-purpose flour blend
- 1 tablespoon psyllium husk powder
- 1 1/4 teaspoons salt
- 2 1/4 teaspoons active dry yeast or bread-machine yeast
Equipment
- Bread machine
- Measuring cups and spoons
- Silicone spatula
- Wire cooling rack
Instructions
1. Check your bread machine
If your machine has a Gluten-Free cycle, use it.
Gluten-free bread generally does not need the repeated kneading and rising cycles designed for wheat bread, so the dedicated gluten-free program is usually the best starting point.
2. Add the ingredients
Add the ingredients to the bread-machine pan in the order your machine’s manufacturer recommends.
Many machines use liquids first, followed by dry ingredients, with yeast added last. Other machines may specify a different order.
If using the common liquids-first method, add:
- Plant milk
- Oil
- Apple cider vinegar
- Sugar
- Gluten-free flour
- Psyllium husk
- Salt
- Yeast
Make a small indentation in the flour for the yeast if your machine instructions recommend doing so.
3. Start the gluten-free cycle
Choose the gluten-free setting and a medium crust if your machine gives you a crust option.
Start the cycle.
4. Check the dough during mixing
After several minutes, open the lid and look at the mixture.
This is one of the most useful steps when learning how to make gluten-free bread in a bread machine.
The dough should be thick, sticky, and much softer than conventional wheat bread dough.
It may resemble a very thick batter rather than a kneadable ball.
Use a silicone spatula to scrape flour from the pan corners if needed.
If the mixture looks unusually dry or stiff, add plant milk about 1 tablespoon at a time.
If it looks extremely runny, add a small amount of gluten-free flour.
Make adjustments gradually.
5. Let the machine finish the cycle
Once the consistency looks right, close the lid and allow the bread machine to complete the rising and baking process.
Avoid repeatedly opening the lid during the later rising and baking stages.
6. Remove the loaf
When the cycle finishes, carefully remove the bread pan.
Allow the loaf to rest briefly before turning it out onto a wire rack.
7. Cool completely
This step is especially important with gluten-free bread.
Let the loaf cool completely before slicing.
Cutting into warm gluten-free bread can make the crumb look gummy or compressed even if the bread has baked properly.
What Should Gluten-Free Bread Machine Dough Look Like?
This is where many first-time gluten-free bakers get confused.
Regular wheat bread dough often forms a smooth, elastic ball during kneading.
Gluten-free dough usually does not.
For this gluten-free bread machine bread, expect something closer to a very thick, sticky batter.
It should be soft enough for the machine paddle to mix easily but not so loose that it looks like cake batter.
If you see dry flour sitting around the corners of the bread pan, scrape it down during the early mixing stage.
Don’t keep adding flour just because the dough feels sticky. Stickiness is normal in gluten-free bread.
Can I Use the Regular Bread Setting?
A gluten-free setting is preferable when your machine has one.
Traditional bread-machine programs are designed around wheat dough. They may knead the dough several times and include multiple rising stages.
Gluten-free dough does not need traditional gluten development.
If your machine does not have a gluten-free program, check whether the manufacturer provides instructions for gluten-free bread. A shorter cycle with one primary mixing and rising period is usually more suitable than a program designed for repeated kneading.
Because bread machines differ considerably, the manufacturer’s manual should always take priority when selecting a cycle.
Why Didn’t My Gluten Free Bread Rise?
Several things can keep a loaf dense.
The yeast was old
Check the expiration date on your yeast.
If you rarely bake bread, an opened container of yeast may have been sitting in the pantry longer than you realize.
The liquid was too hot
Warm liquid helps create a yeast-friendly environment, but very hot liquid can damage yeast.
Aim for pleasantly lukewarm, not hot.
The dough was too dry
Gluten-free bread needs sufficient hydration.
If the paddle is struggling to move through a stiff mass, the dough may need slightly more liquid.
The flour blend behaved differently
Two gluten-free flour blends can absorb noticeably different amounts of liquid.
That is why checking the consistency during the first few minutes of mixing is so useful.
The cycle was not suitable
A standard bread cycle may not always give gluten-free dough the timing it needs.
Use the dedicated gluten-free program when available.
Why Is My Gluten-Free Bread Gummy?
A gummy center is one of the most common frustrations with homemade gluten-free bread.
Possible causes include:
Slicing too early
Warm gluten-free bread is still setting internally.
Give the loaf enough time to cool before cutting it.
Too much liquid
Gluten-free dough needs moisture, but too much can leave the center wet or gummy.
Add extra milk only in small amounts.
Incorrect flour measurement
Too little flour changes the balance of the entire recipe.
For greater consistency, weighing gluten-free flour can be helpful when your flour manufacturer provides gram measurements.
The loaf needed more baking
Bread machines vary in heating power and cycle length.
If your loaf consistently finishes with an underbaked center, check your machine’s manual to see whether you can add more baking time.
Why Is My Bread Dry or Crumbly?
The opposite problem can happen too.
Dry or crumbly bread can result from:
- Too much flour
- Too little liquid
- Overbaking
- An unsuitable flour blend
- Too little binder
- Inaccurate measuring
The first thing I would check is the dough consistency during mixing.
It should not look like traditional firm bread dough.
A softer, sticky dough is usually what you want.
Why Did My Bread Collapse?
A loaf that rises nicely and then falls can be frustrating.
Possible causes include:
- Too much liquid
- Too much yeast
- Over-proofing
- Insufficient structure
- An unsuitable flour blend
- A bread-machine cycle that allows the dough to rise for too long
Avoid increasing the yeast just because you want a taller loaf. More yeast is not always better.
Gluten Free Dairy Free Bread Recipe for Bread Machine
If you’re specifically looking for a gluten-free, dairy-free bread recipe for bread machine baking, this loaf already fits both requirements.
The recipe uses plant-based milk instead of dairy milk and oil instead of butter.
However, gluten-free and dairy-free do not automatically mean vegan.
Some bread recipes may still contain eggs or honey.
This Mealloom version avoids dairy, eggs, honey, and other animal-derived ingredients, making it suitable as a vegan bread recipe.
When using packaged ingredients, check individual labels if you have specific allergy or dietary requirements.
What Is the Best Gluten-Free Flour for a Bread Maker?
No single flour blend behaves the same way in every bread machine.
A balanced gluten-free baking blend is generally easier to work with than substituting a single flour.
Using only almond flour, coconut flour, chickpea flour, or rice flour in place of the blend can dramatically change the loaf.
For example, these ingredients differ in:
- Water absorption
- Protein content
- Starch content
- Weight
- Flavor
- Structure
For that reason, I don’t recommend replacing the entire gluten-free flour blend with one alternative flour and expecting the same result.
Can I Make This Bread Without Psyllium Husk?
You can find gluten-free bread recipes that use xanthan gum, flaxseed, chia seeds, or combinations of binders instead of psyllium.
However, they aren’t always direct replacements.
Changing the binder can affect:
- Dough hydration
- Rise
- Crumb texture
- Flexibility
- Sliceability
For the most predictable result, use the binder specified in the recipe rather than swapping it without adjusting the rest of the formula.
Can I Make This Bread Without Yeast?
Not with the same recipe.
This is a gluten-free bread recipe for bread machine baking that uses yeast.
Yeast-free gluten-free breads rely on different leavening systems, such as baking powder or baking soda, and usually require a different ingredient balance and baking method.
If you remove the yeast from this recipe without replacing the entire leavening approach, the loaf will not behave as intended.
Tips for Better Gluten-Free Bread Machine Bread
A few small habits can make bread-machine baking much easier.
Check the dough early. The first mixing stage is the best time to make small hydration adjustments.
Don’t expect a dough ball. Gluten-free bread dough is softer and stickier than wheat bread dough.
Measure carefully. Small changes in flour and liquid can have a noticeable effect.
Use fresh yeast. Old yeast can produce a dense loaf.
Avoid unnecessary substitutions. Gluten-free bread formulas are sensitive to ingredient changes.
Let the loaf cool. This may be the hardest tip to follow when fresh bread smells good, but it makes a real difference to the crumb.
Ways to Serve Gluten-Free Bread
Once cooled, this loaf works well for everyday meals.
Try it:
- Toasted with vegan butter
- With peanut or almond butter
- As avocado toast
- With hummus
- Alongside vegan soup
- For a simple sandwich
- With jam
- As breakfast toast
- With smashed chickpeas and vegetables
Toasting can also be a nice way to refresh slices later.
How to Store Gluten-Free Bread
Let the loaf cool completely before storing it.
Once cooled, keep it well wrapped or in an airtight container to reduce moisture loss.
Gluten-free bread can dry out faster than conventional wheat bread, so freezing slices is a practical option when you will not use the whole loaf quickly.
For freezing:
- Let the bread cool completely.
- Slice it.
- Place pieces of parchment between slices if needed.
- Store the slices in a freezer-safe container or bag.
- Remove only what you need.
- Thaw or toast individual slices.
Slicing before freezing means you do not have to defrost the entire loaf to make breakfast.
Frequently Asked Questions
What is the best setting for gluten-free bread in a bread machine?
Use the dedicated gluten-free cycle when your bread machine has one. Gluten-free dough does not require the repeated kneading stages used to develop gluten in wheat bread.
Can I use a bread maker for gluten-free bread?
Yes. A bread maker can mix, proof, and bake gluten-free bread. A machine with a dedicated gluten-free setting makes the process particularly convenient.
Why doesn’t gluten-free dough form a ball in the bread machine?
Because there is no gluten network creating the elasticity found in wheat dough, gluten-free bread machine dough is usually softer, stickier, and more batter-like.
Can I use regular flour in this recipe?
No. This recipe is formulated around gluten-free flour. Wheat flour behaves differently and would require a different recipe.
Is this gluten-free bread vegan?
Yes. This recipe uses plant-based milk and oil and contains no eggs, butter, dairy milk, honey, whey, or other animal-derived ingredients.
Is this bread dairy-free?
Yes. It is a gluten-free, dairy-free bread recipe for bread machine baking and uses plant milk instead of dairy.
Why is my gluten-free bread dense?
Common causes include inactive yeast, dough that is too dry, incorrect flour measurement, or a bread-machine cycle that is not well suited to gluten-free bread.
Can I make gluten-free bread without a bread machine?
Yes, but the mixing, proofing, and baking method will be different. A recipe developed specifically for oven baking is preferable.
Do I need to knead gluten-free bread?
Not in the traditional sense. Gluten-free dough does not contain the gluten network that wheat-bread kneading is designed to develop. Thorough mixing is more important.
Should gluten-free bread cool before slicing?
Yes. Cooling allows the crumb to finish setting. Slicing the loaf while it is hot can make the inside look gummy or compressed.
Final Thoughts
A good gluten-free bread machine recipe should make homemade bread easier, not more complicated. The most important thing to remember is that gluten-free dough behaves differently from wheat dough. Keep it soft and sticky, use a suitable flour blend, check the consistency during mixing, and let the finished loaf cool.
Once you understand what the dough should look like, a bread maker takes care of most of the work. From toast in the morning to sandwiches at lunch, this simple vegan loaf is a useful recipe to keep in your everyday bread rotation.